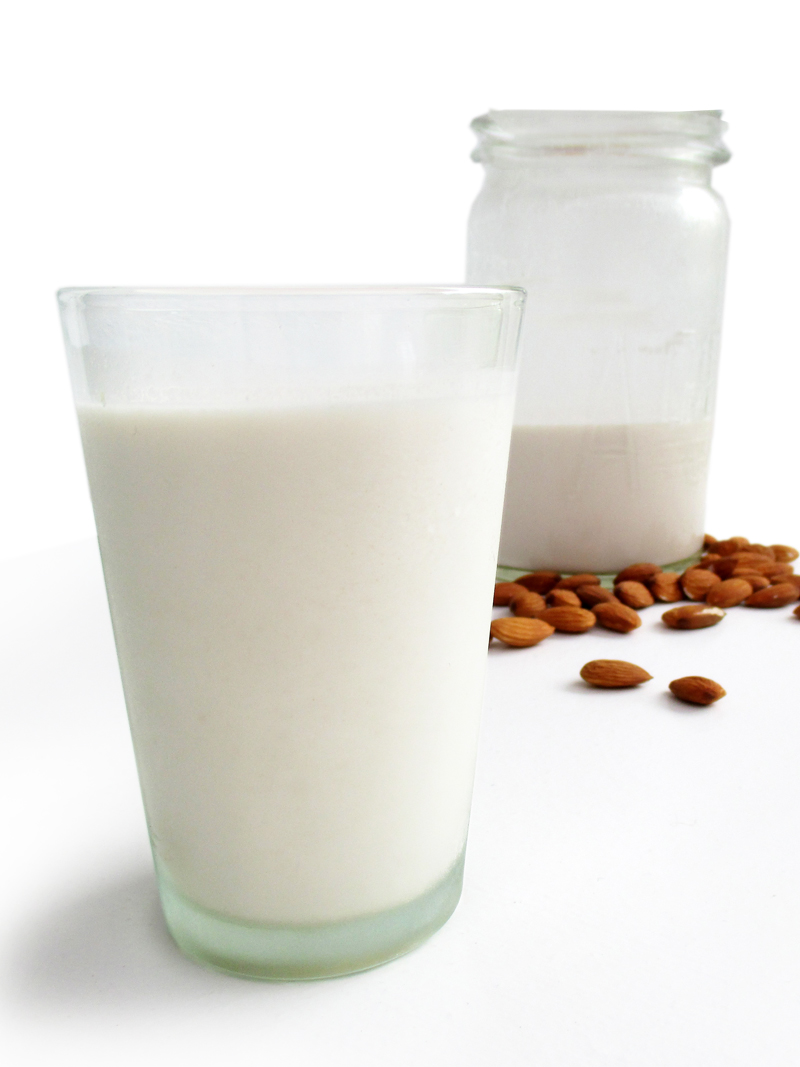
I’m a big fan of home-made nut-milk. Especially since I live in New Zealand. The Recycling system is not as advanced as it is in Europe and therefore a lot of recyclable materials end up in land-fill.
When I noticed how much of my waste goes there too, I decided to improve. This was the starting point for my nut-milk love (and other sustainability efforts of which I will write in a different post).
Update November 2019: Over the years I have come to realise that recycling is not the answer to plastic waste either. Because only a small fraction of plastics actually get recycled (the number are somewhere between 10 and 40%) This is just not good enough, considering the billions of tons of plastics that us humans create each and every year. Refusing plastic is the best option after all. If we all give our best and reduce our plastic consumption, we can make HUGE impact! Let’s do it!
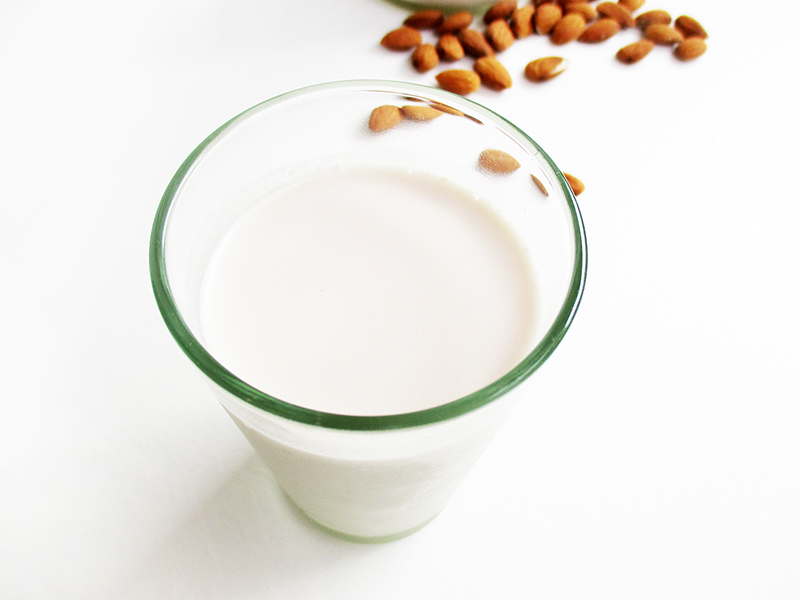
And should I actually mention that the main reason for me to make my own nut-milk is an ethical reason? Because I don’t want any animal mamas to have their children taken away and killed. And I don’t want these animal mamas being used and abused year after year until they will have their life brutally ended, once they don’t produce enough milk for us humans. It’s simply not necessary.
So there are 5 good reasons to make your own nut-milk:
1. You Reduce Waste
As I already said above, making your own nut-milk reduces packaging waste, especially if you focus on buying in bulk. Your local organic shop might be happy to accept your own containers (it works well for me). Imagine how many Tetrapaks you avoid in a month or year by making your own nut-milk! 🙂
2. You Choose The Ingredients
When you make your own nut-milk, you can also choose what goes into it! No weird ingredients that can’t be pronounced or whose function is unclear. And it still tastes good! Simplicity at it’s best! And it also works with seeds or even rice. There are almost no limits for your imagination.
3. You Can Save Money
When using seasonal, local nuts in your home-made nut-milk, you can save money and support local farmers.
4. You Can Make Yummy Stuff With The Leftover
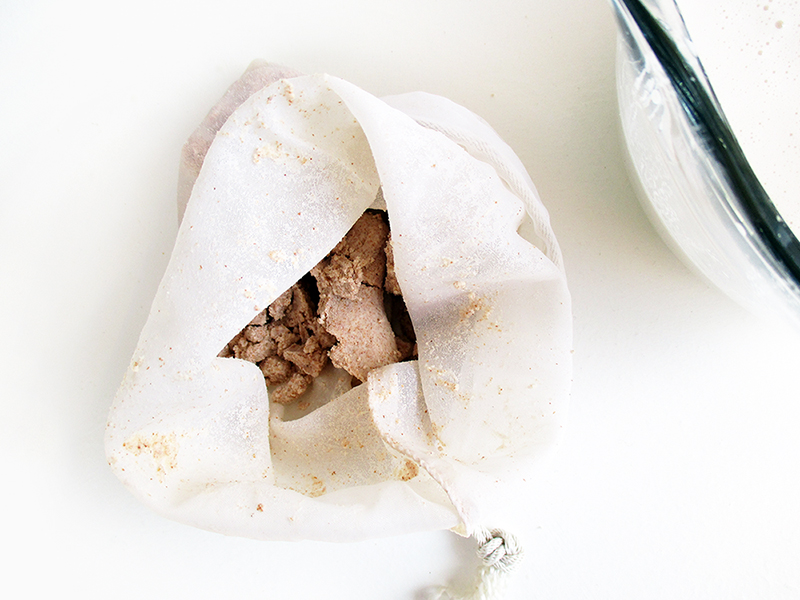
Yes, that’s right! You can use the leftover pulp to make yummy treats and snacks. For example chocolate muffins or chocolate cookies or apple cinnamon cake. More recipes to follow soon! 🙂
5. You Get Satisfaction
Last but not least, it is very satisfying and gives one a sense of achievement to create your own delicious, sustainable and healthy nut-milk. Do you miss anything here? Are there other reasons that you would like to see added? Please let me know in the comments below.
How To Do It
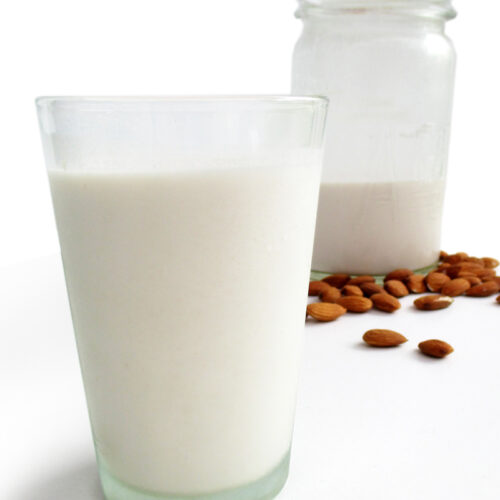
5 Good Reasons To Make Your Own Nut-Milk (+How To Do It)
Equipment
- Place nut-milk bag
- high-speed blender
Ingredients
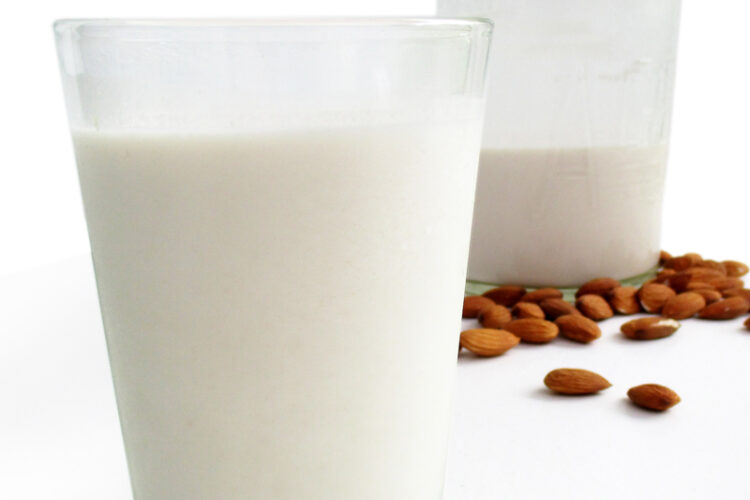
- 1 cup of nuts, almonds, hazelnuts etc. soaked in filtered water for at least 8 hours, the drained
- 3 cups of water
- pinch salt
- some sweetener of your choice if desired
- 1 additional cup of water
Instructions
- Blend the nuts with approx. half the amount of water until they are ground very fine.
- Add the remaining water and keep blending for a little longer.
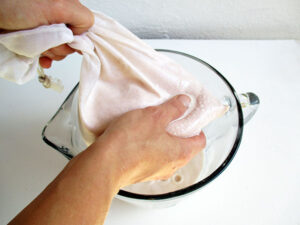
- Place nut-milk bag (or sieve with clean dish-washing towel) over a bowl and pour the blended mixture into it.
- Then take the nut-milk bag and gently knead it until most of the fluid is pressed out. Then press it a little more tightly but not too hard (in my experience your nut-milk bag might not last that long if you put too much pressure onto it).
- Pour the finished nut-milk into a glass jar. Add the additional cup of water into the nut-milk bag and let it soak a little. Then repeat step 4.
- Pour into the jar, cover with lid and store in fridge. Shake well before using.
Notes
Please let me know what you think about this recipe, I’d love to hear from you! And if you remake this recipe, please share the picture with me on Pinterest, Instagram or Facebook.
